


The Project
At Nimble, we use Webflow for all of our web design needs — so we’re here to pass on the tips we’ve learned using the platform if you’re working towards using Webflow for your business! Whether you had a Webflow website made for you by Nimble or are looking to design your own, we’ll go over some of our favourite tips for the Webflow editor in this blog.
Getting Started with Basic Editing Tools
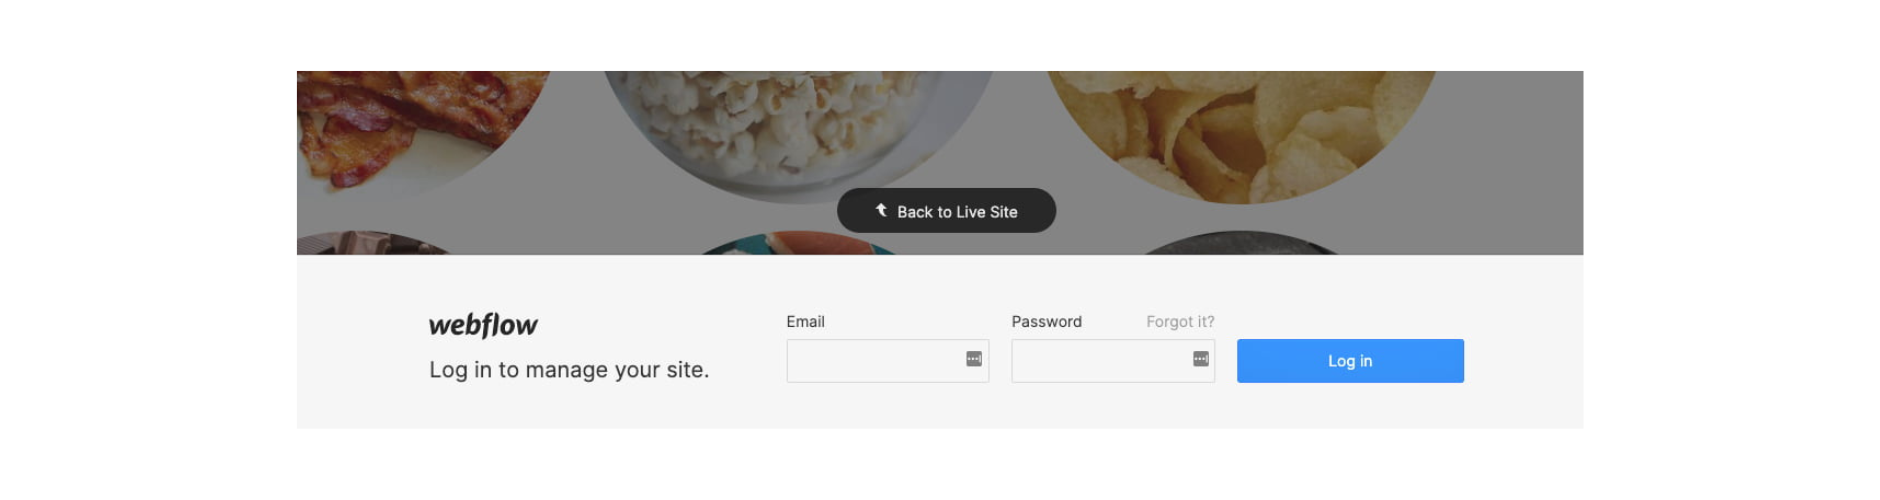
The Webflow editor is an easy and intuitive way for you to make changes. The Webflow editor can be accessed by adding /?edit to the end of your website URL.
Your site should refresh and bring up a login bar.
Once you have logged into the editor for your Webflow site, you should be able to see the editor menu.
Upon logging in, you should be in editor mode. You may notice that clicking on some elements or sections of the website now will interact/behave differently. Content editing is as simple as hovering your cursor over the element you wish to edit and clicking on it. There are a couple of elements that will give you different options to edit.
Text Elements
These elements will have a text box hover; upon clicking the text box or the pencil icon on the top right corner, that should bring up a cursor to enable text editing.

Images
These elements will bring up an icon on the top left corner of the box, which will allow you to change the image out for a different image. You can also click directly on the image box to bring up the menu to change your image.

Buttons
These elements will often have content which is adjustable and also include a link. By moving your cursor over the button you should see a “gear” icon which indicates you can adjust the settings. The button settings consist of two parts — the text you want the button to display, and what you want the button to do.

Webflow Tips
Tip 1 - Keep Your Workspace Clean.
We all know the feeling — sometimes having too many tabs open can be a bit overwhelming! Keeping your workspace clean can help alleviate this. If you are having issues finding collections, tabs can be closed if there are too many collections open.
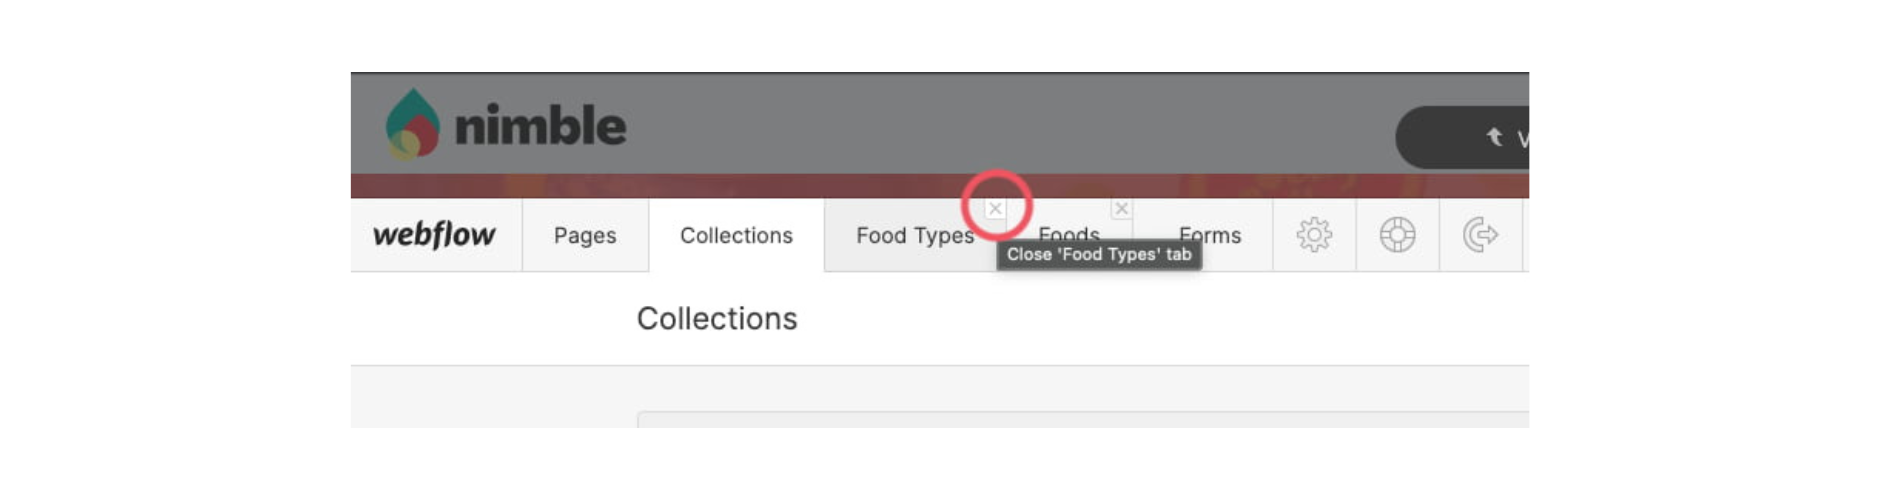
- Once a collection is selected from the Collections tab, a new Tab for that collection will open.
- If you find the collection tabs are getting hard to find/navigate, you can close the tabs to help clean up the editor menu.
- Clicking on the collection will bring the tab up again from the Collections tab.
Tip 2 - Help your users navigate to where you want them to go.
Adding Links to your content is a great way to help take the user to the point of reference from your content. It brings the user to where you want to direct them to, and allow them to take action on your site. A user is more likely to stay on your site if you provide them with the right information.
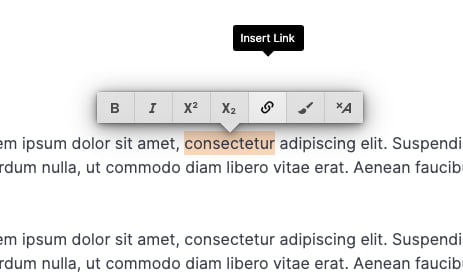
You can add hyperlinks to your content by highlighting the content you want to become a hyperlink, then you can choose the “links” icon and turn the text into a link with a variety of options.
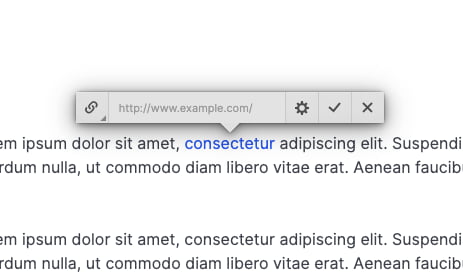
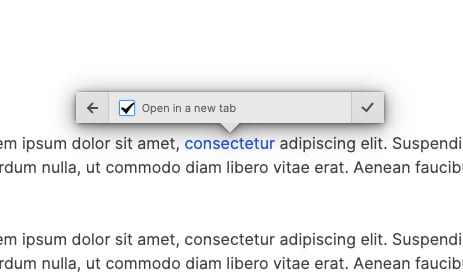
By default, the link options will pop up. If you add a link to a different website, place the URL into the box and make sure to select the gear icon. This will give you the option to Open in a new tab. This is important because it will keep the user on your website while opening the external link in a new tab.
Tip 3 - Make sure content is relevant and updated.
Scheduling a collection or blog to go live at a certain time or date is a great way to update your website with new content while keeping your website relevant. Constantly creating/updating content on your website is beneficial to SEO, as this tells crawlers (such as Google) that you have a frequently updated site which results in better chances of ranking higher in search results. When creating a new collection item (such as a blog post) you can set them to publish at a certain time/date.
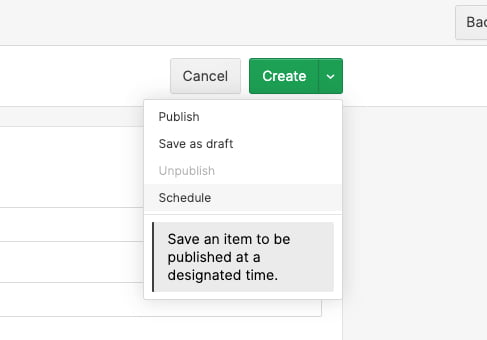
To schedule publishing after creating a new collection item, simply click the dropdown next to the “Create” button. Select “Schedule”.
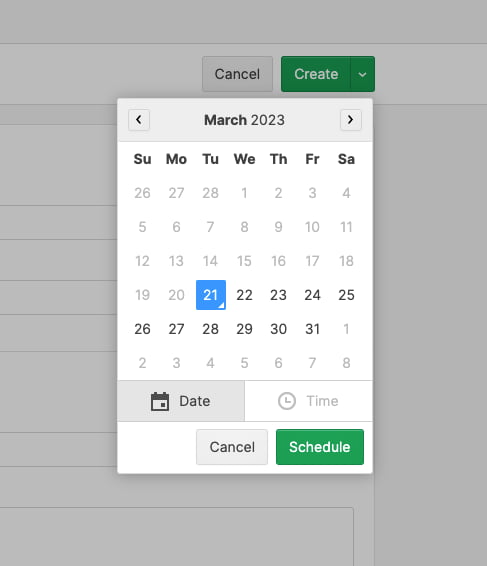
This will now bring up a calendar for you to pick the date and even the time you want the item to go live on your website.
Want more Webflow tips? Stay tuned to our blog to learn more about this exciting website building platform!
The Challenge
The Nimble Solution

The Results
.jpg)
.jpg)
.jpg)


